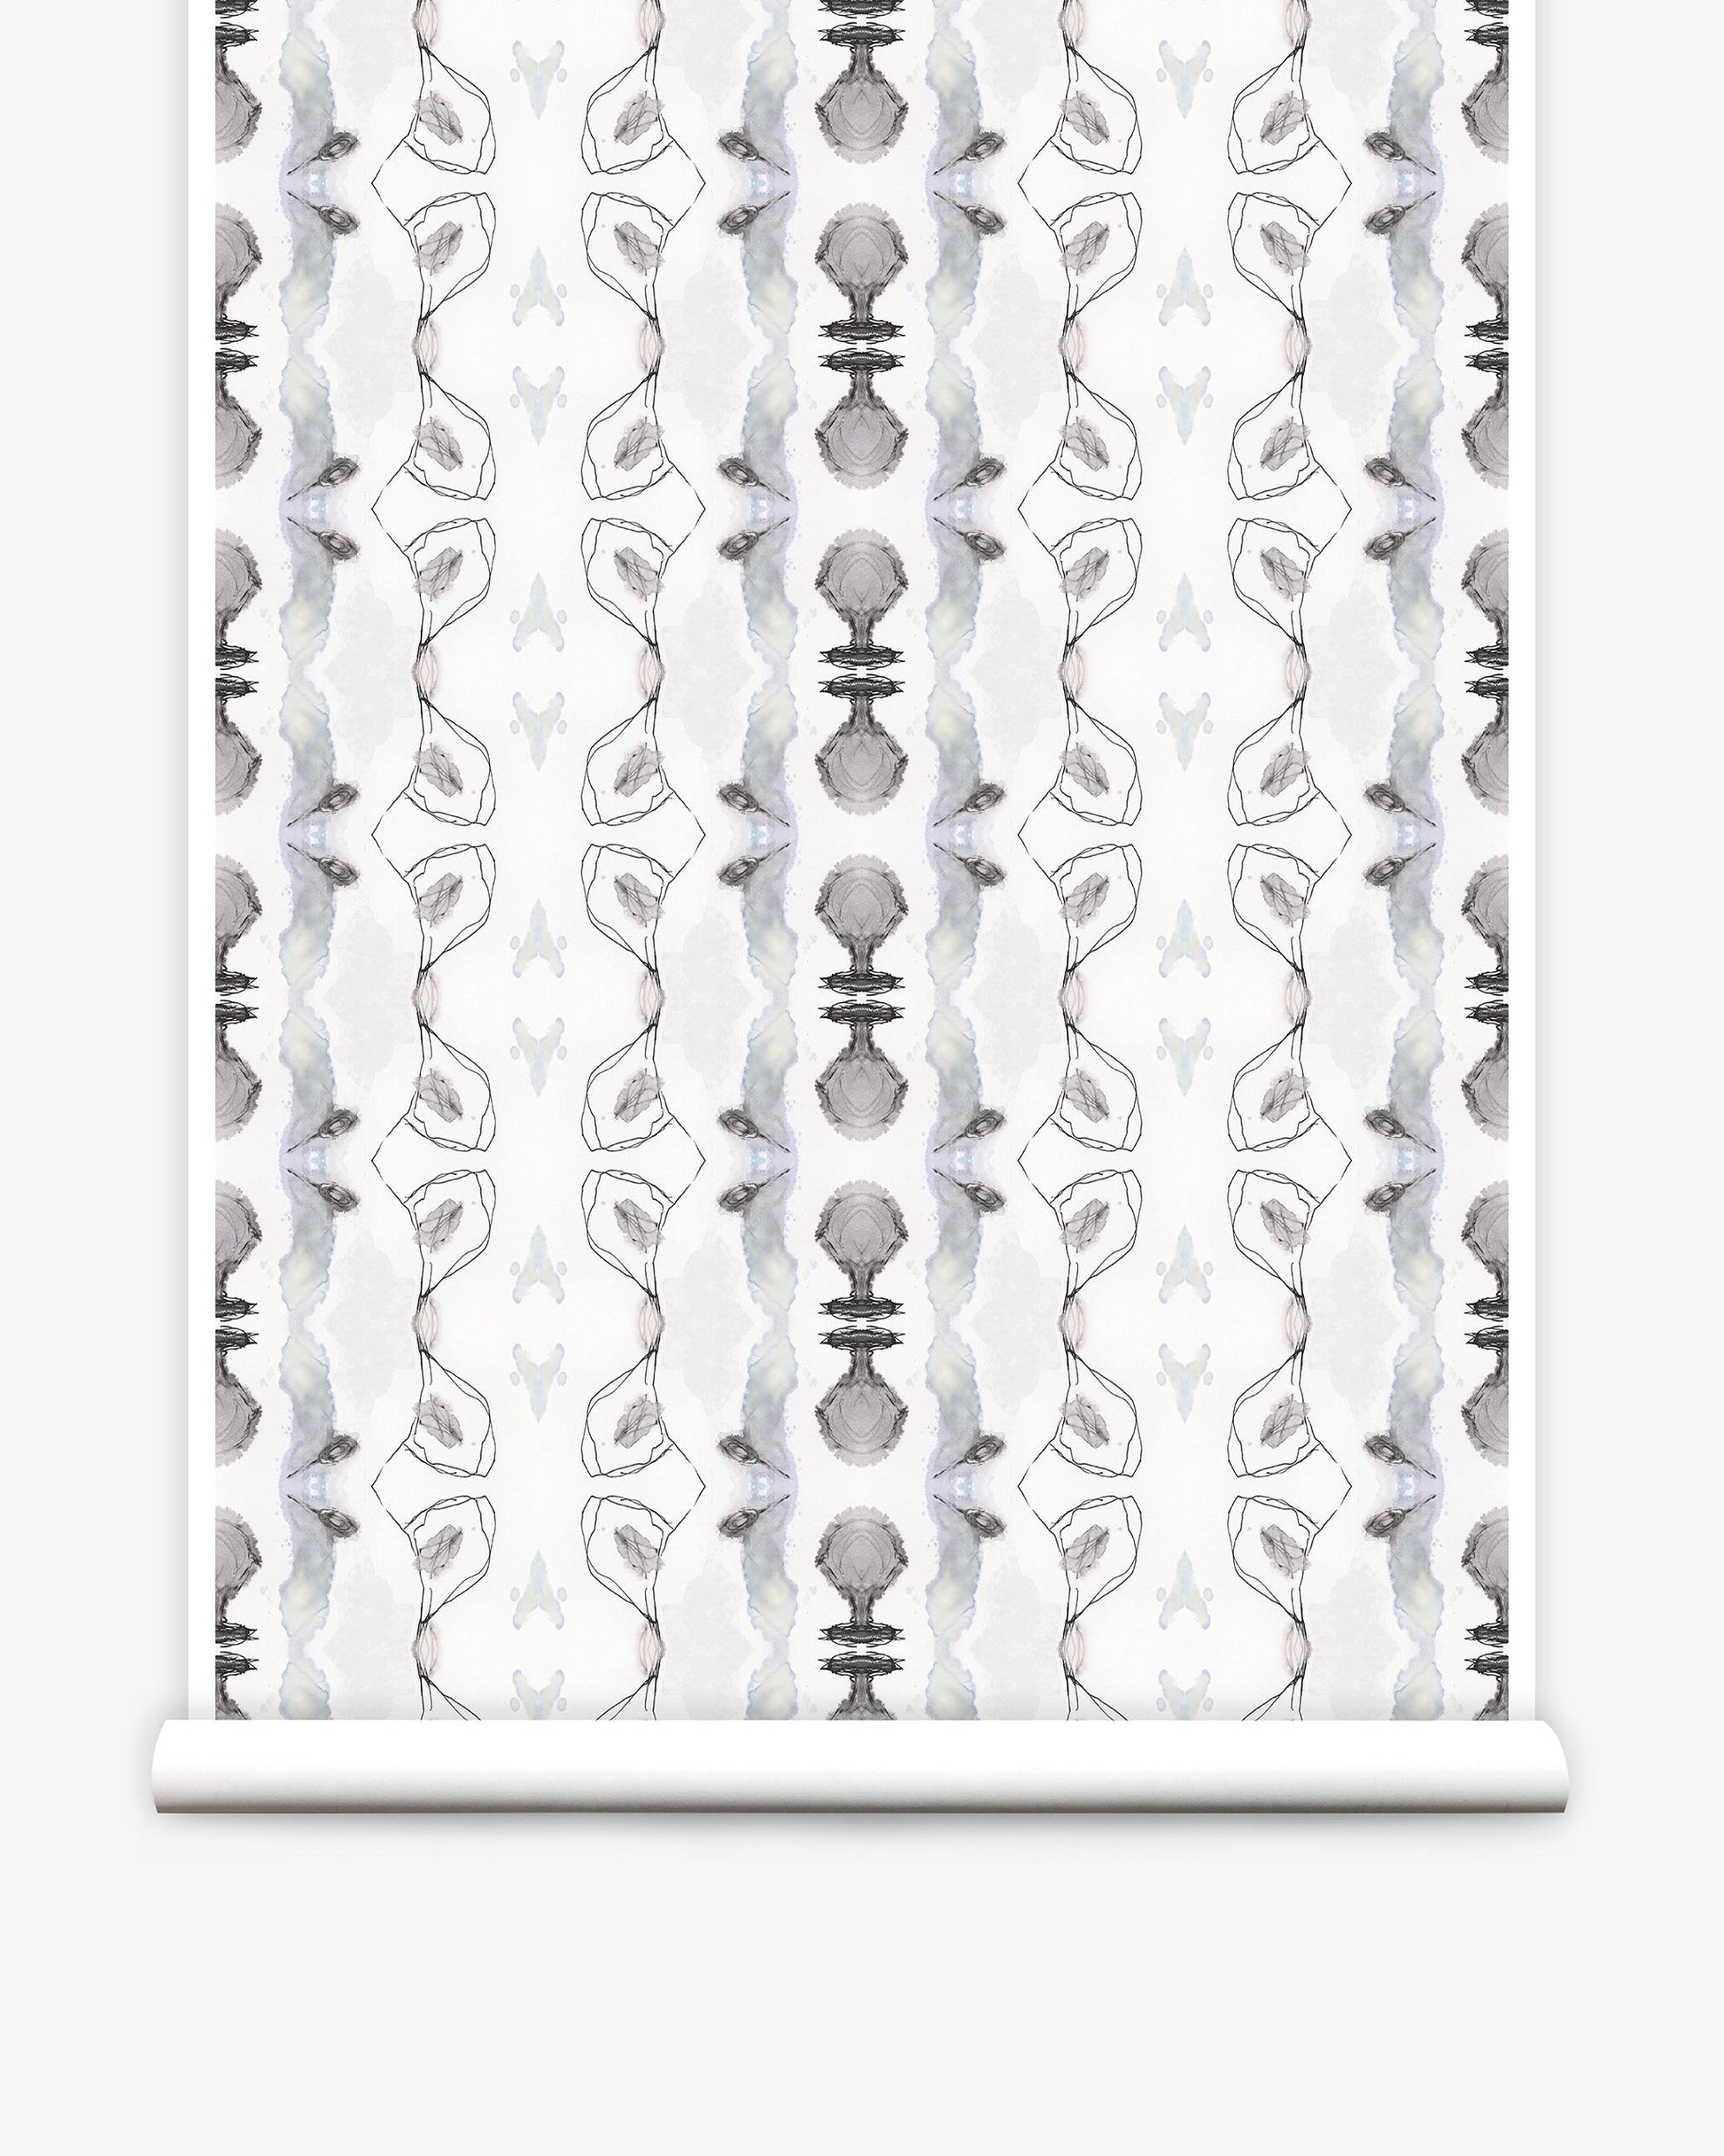
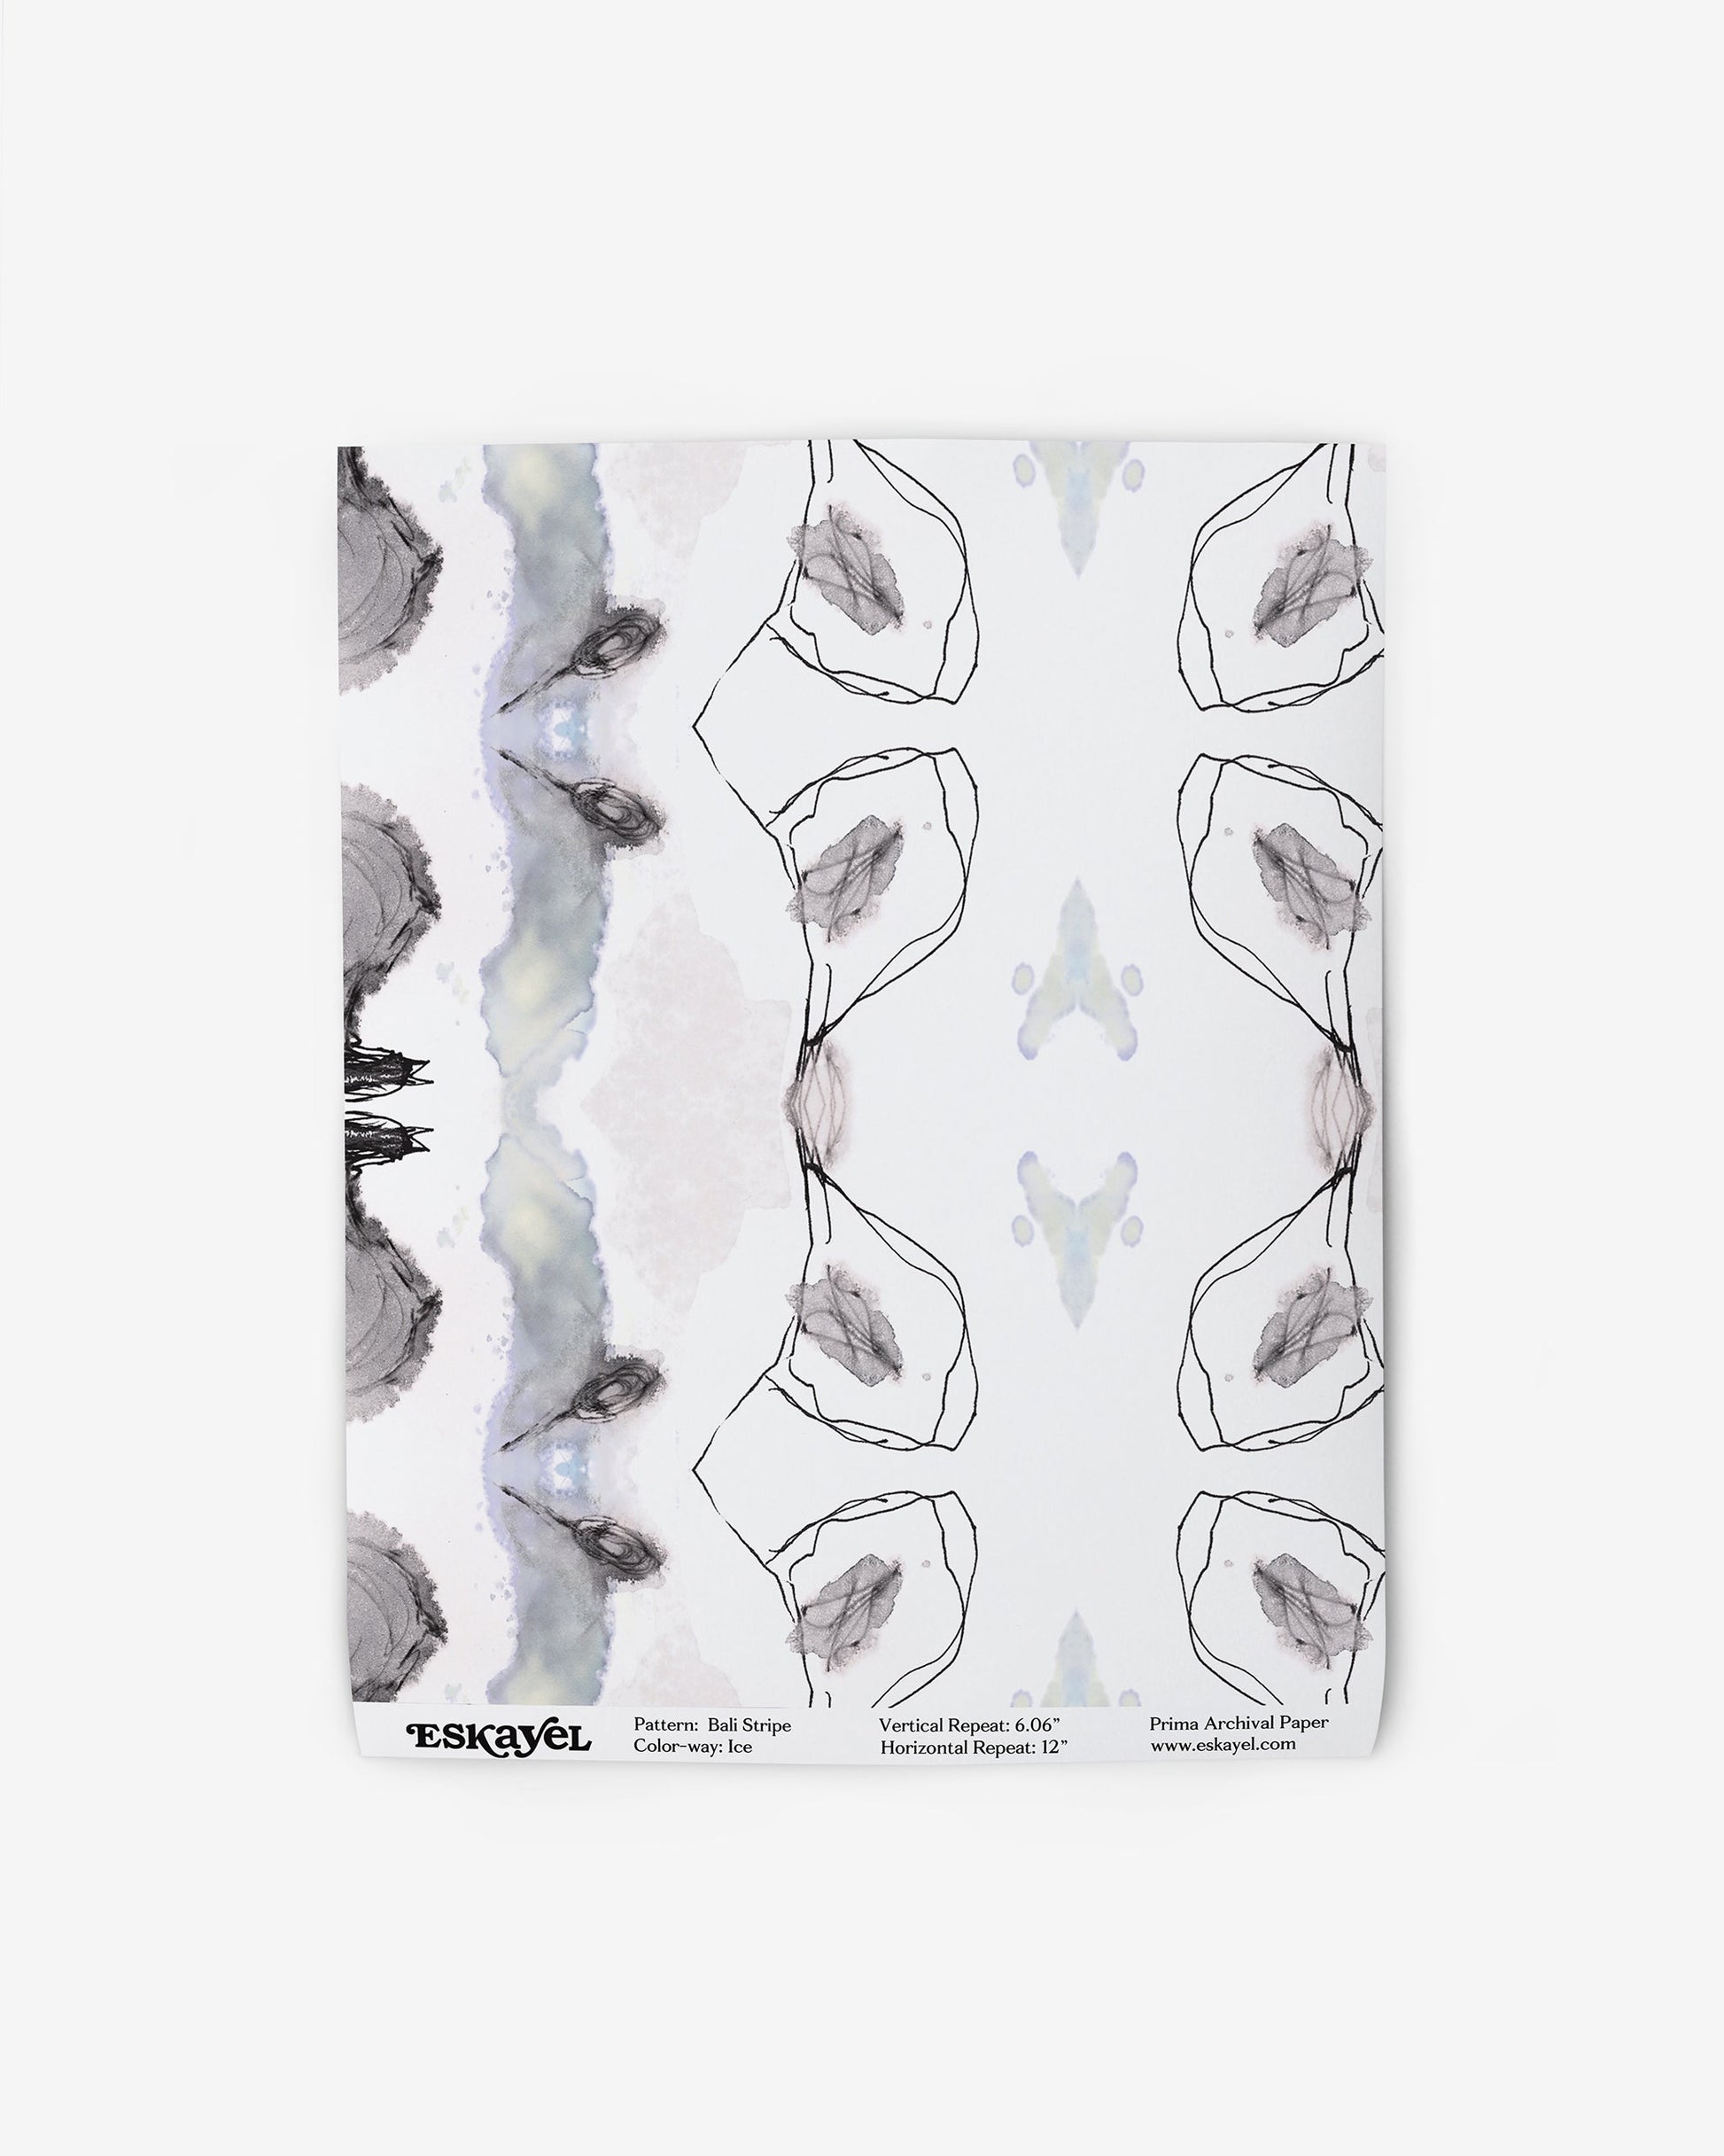
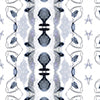
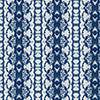
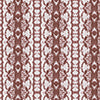
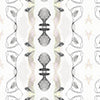
To learn how to get the best out of your prima archival wallpaper, be sure to read our installation guide before cutting and hanging.
Prima Archival Paper Technical Info
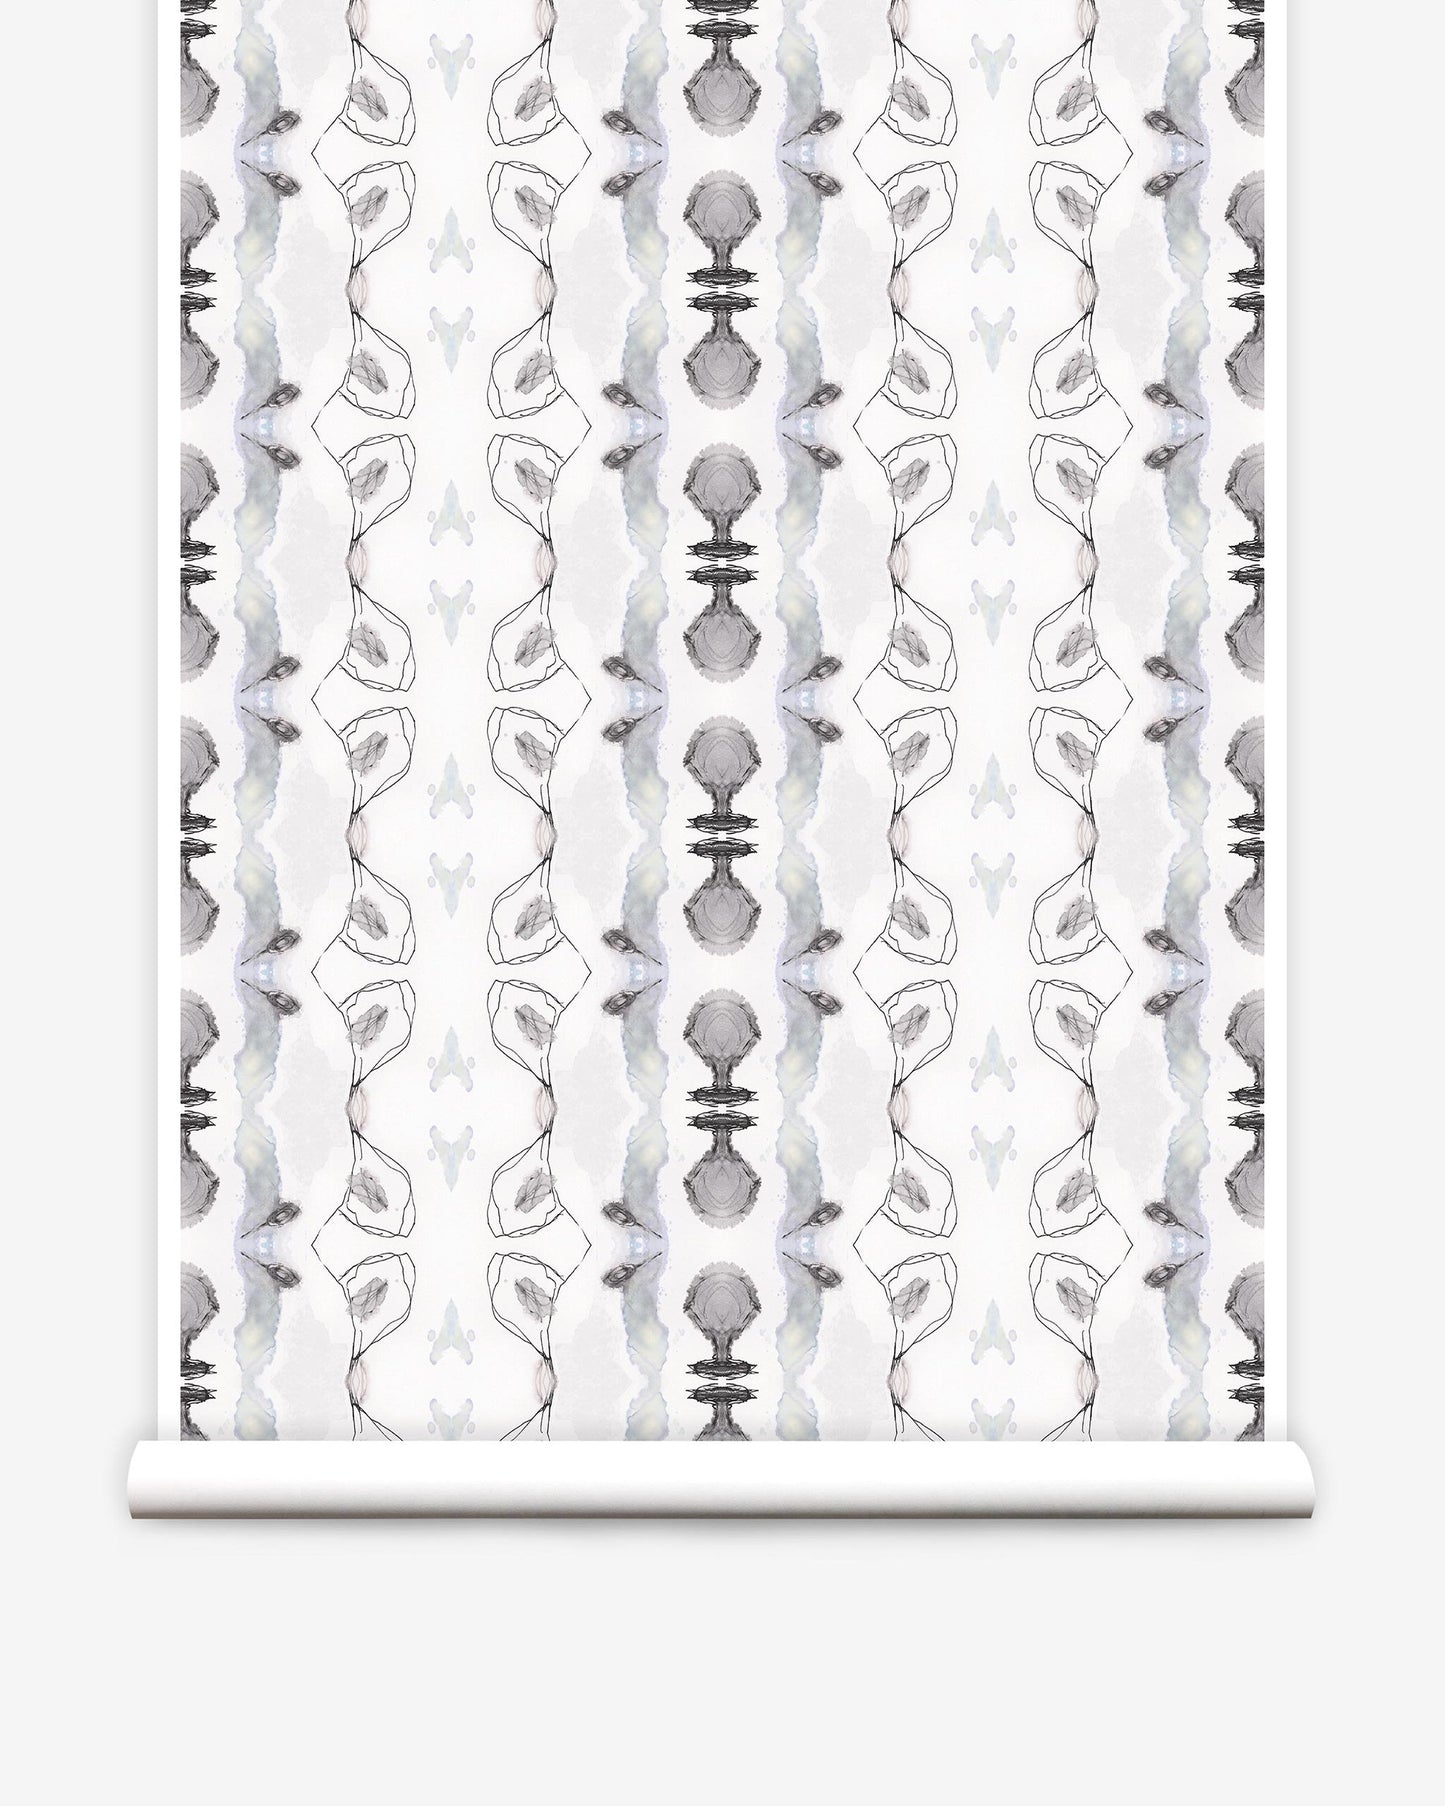
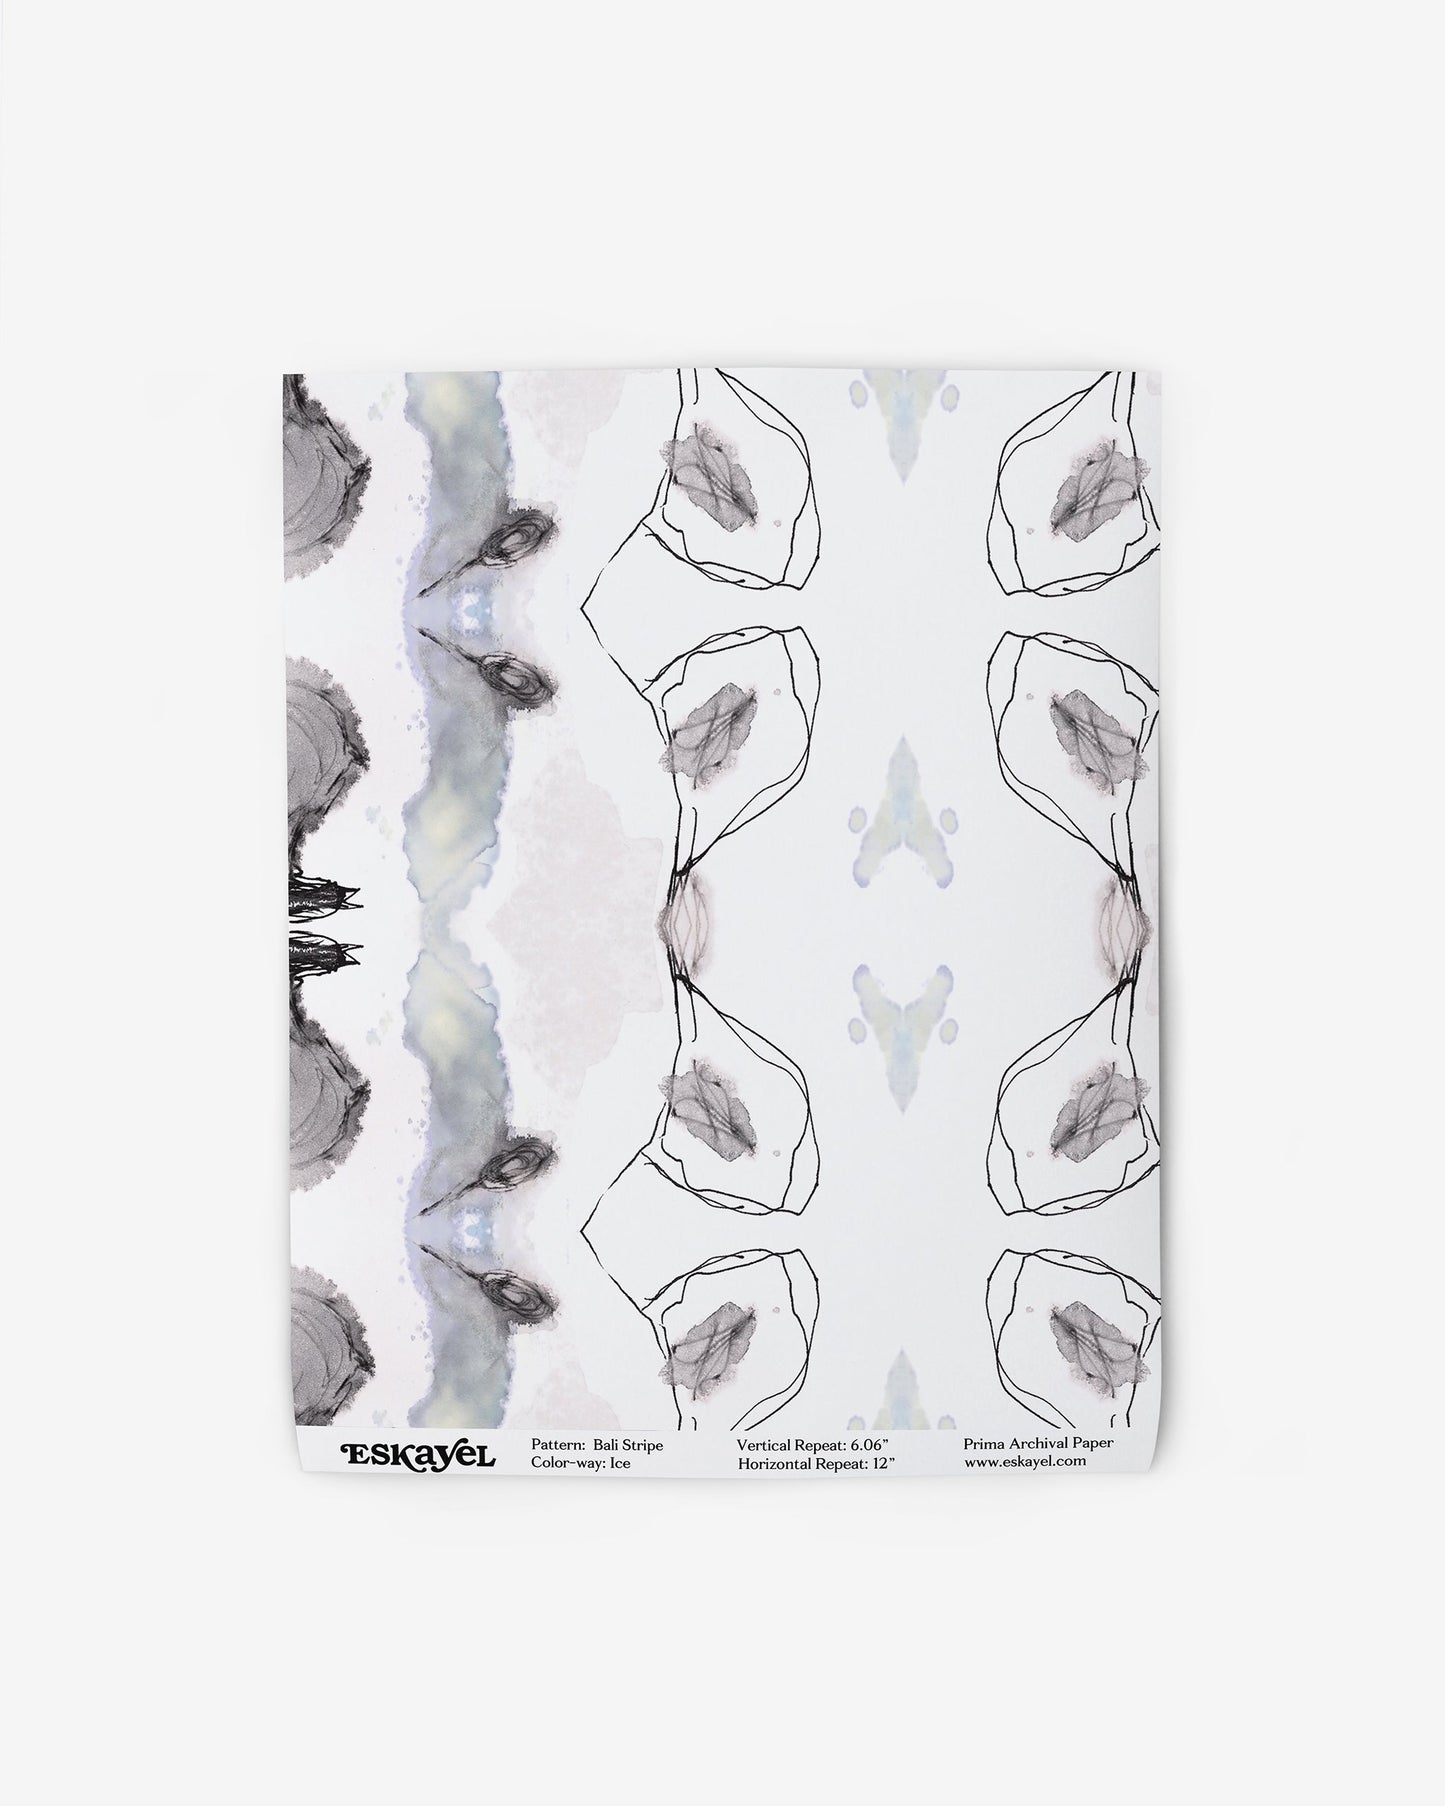
Printed as custom panels that are two feet wide with a custom lengths based on ceiling height, our Prima paper is priced by the square foot.
Wood-pulp fibers for our Prima archival paper come from Forestry Stewardship Council (FSC)-certified wood harvesting and pulping operations. The paper mill that produces this paper uses little fresh water, internally recycling and reusing over 99% of the water required for papermaking.
The little water that is discharged has nearly all solids removed from it by filtration before it is discharged to the town waste treatment plant. No VOCs are discharged to the atmosphere from the paper mill. Under typical commercial landfill conditions, this paper breaks down quickly and naturally, as microorganisms consume the cellulose wood pulp fibers. In contrast, PVC vinyl wallcoverings can take decades to break down and release powerful toxic compounds.
Specs:
Material: Latex-saturated/nylon-reinforced, high wet-strength paper pulp
Basis weight: 228 grams per square meter / 6.7 ounces per square yard
Flame Spread Class: Class A**
Meets ASTM 793 standards for commercial wallcovering
Prima Archival Wallpaper Installation Guide
In order to reduce waste and installation time, our Prima paper comes in custom panels based on the height of the wall or area that is to be covered rather than by pattern repeat measurement alone. Panels are created to side match from the top unless otherwise specified and are 24 inches wide. Panels come untrimmed with a quarter-inch selvage and are trim-to-bleed.
Eskayel highly recommends consultation with a professional paperhanger prior to installation.
These instructions are for our Prima archival wallpaper only.
Wall Preparation
- Wall should be prepared to a smooth, clean, and dry surface prior to installation. Wallcovering will not hide flaws such as nail holes, bumps, or dirt.
- Primer sealer should be used on unpainted drywall or glossy paint. Use acrylic wallcovering primers: Professional Ultra Prime (PRO-977), Golden Harvest White Bite, or Allpro Ultra Prep 685. Priming provides a sound surface that wallcovering will adhere to.
- It is recommended to strip down the previous layer(s) of wallcovering. The wallcovering may seem to be firmly adhered to the wall, but the addition of another layer can cause adhesion failure.
Paste Information
- Clear adhesives such as Professional Ultra Premium Heavy Duty Clear Strippable (PRO-880), Golden Harvest GH-34 Clear Stripable, and Allpro Pro-Duty 3400 provide good adhesion and allow for easier stripping when the wall covering is to be removed or replaced.
- Pastes such as Professional Heavy Duty Clear PRO-838 or Allpro Clear Hang 610 have a more aggressive adhesion and should be used for more permanent applications.
- Apply a coat of the adhesive to paper using a half-inch nap paint roller. Book for 10 minutes.
Hanging Instructions
- Do not use tape on image surface.
- Table trim selvage at edge of printed area to bleed. Do not double cut.
- Align top and adjoining edges.
- Smooth panels into place with a smoothing brush, starting at the center of the panel working towards the edges.
- Use a plastic smoother to push air pockets to the edges.
- It is absolutely essential to thoroughly remove all excess paste from the paper using a lightly damp rag or sponge after installation. Do not use a fully damp sponge as slight running may occur in heavy coverage areas. If any paste is left to dry, flaking may occur which can lead to spots from ink being pulled from the paper.
- Overlapping the seams is not recommended.

